
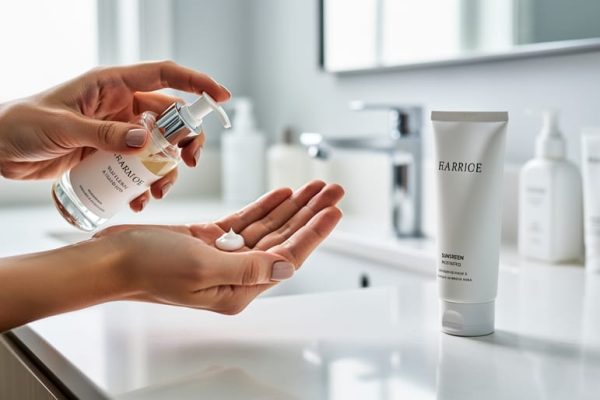





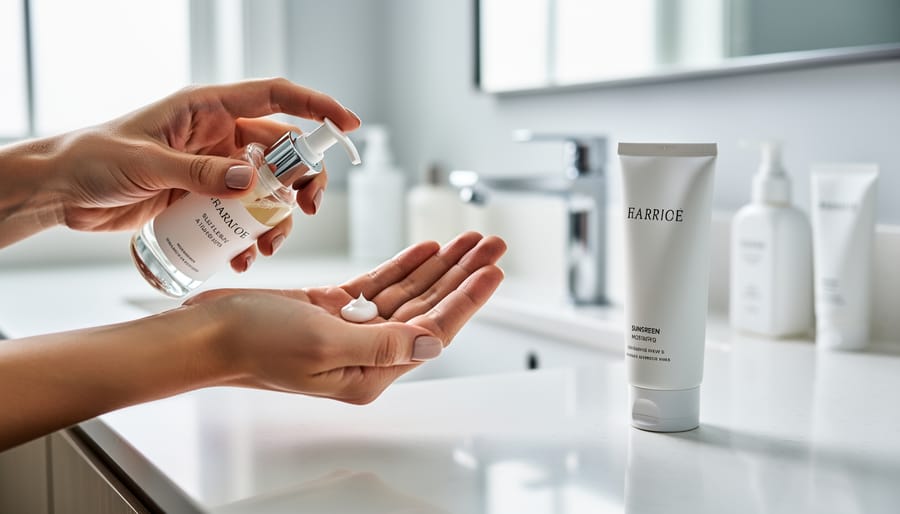
How to Build a Simple Skincare Routine for Clearer Skin in 4 Steps
Getting clearer skin doesn’t require a 10-step routine or a bathroom counter full of products. The truth is, a simple four-step approach (cleanser, treatment, moisturizer, and sunscreen) can dramatically improve your skin’s clarity in as little as four to six weeks when you stay consistent and choose products matched to your skin type.
You’re probably here because you’ve tried too many products at once, followed conflicting advice from TikTok and your dermatologist, or felt overwhelmed by ingredient lists you can’t pronounce. That frustration is completely valid. The skincare industry thrives on complexity, but your skin actually responds better to simplicity and consistency than to constant experimentation.
Here’s what actually works: focusing on the essentials, giving each product enough time to do its job, and resisting the urge to add five new serums when you don’t see results overnight. Clearer skin isn’t about perfection or spending hundreds of dollars. It’s about understanding what your skin needs and showing up for it every single day with a routine you can actually stick to.
This guide will walk you through exactly what products you need, how to use them correctly, and what to expect along the way. Whether you’re dealing with occasional breakouts, stubborn congestion, or just want a fresh start with skincare, this straightforward approach cuts through the noise and gives you a plan you can trust. Think of it as skincare self-care, not a chore. Skincare professionals at YEG Esthetics Skin Studio emphasize that consistency beats complexity every time.
What You’ll Need for Your Clear Skin Routine
You don’t need a bathroom counter filled with bottles to get clearer skin. In fact, the simpler your routine, the easier it is to stay consistent, and consistency is what actually delivers results. Here’s what you truly need to build a routine that works.
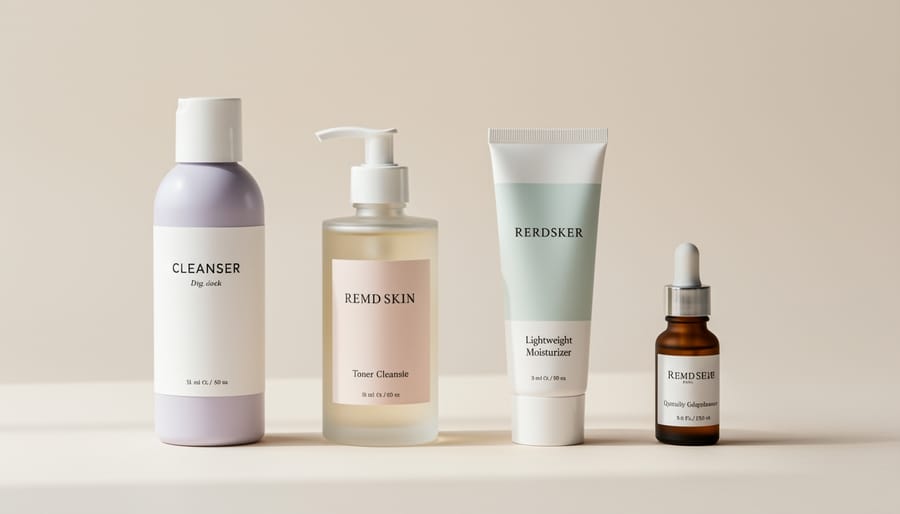
The essential products break down into four categories, each with a specific job:
- Gentle cleanser, look for pH-balanced, fragrance-free formulas that won’t strip your skin
- Treatment product with active ingredients, salicylic acid, niacinamide, or benzoyl peroxide targeted to your skin concerns
- Lightweight moisturizer, non-comedogenic and oil-free if you’re acne-prone, but still hydrating
- Broad-spectrum SPF 30 or higher, mineral or chemical, as long as it doesn’t clog pores
That’s it. Four products. You might also want a soft washcloth or silicone cleansing pad for gentle exfoliation, but these are optional extras, not requirements.
When choosing products for congested or acne-prone skin, the ingredient list matters more than the price tag. Skip anything with heavy oils, thick butters, or long lists of fragrances. Look for labels that say “non-comedogenic” (won’t clog pores) and consider cruelty-free skincare brands that align with your values. You want formulas that feel light, absorb quickly, and don’t leave your skin feeling greasy or tight.
Quality beats quantity every time. One well-chosen cleanser that you’ll actually use nightly works better than three fancy options sitting untouched in your cabinet. Start with these basics, give them time to work, and resist the urge to add more products just because everyone online is raving about the latest serum. Your skin doesn’t need the clutter, and neither does your routine.
Before You Start: Important Skin Safety Tips
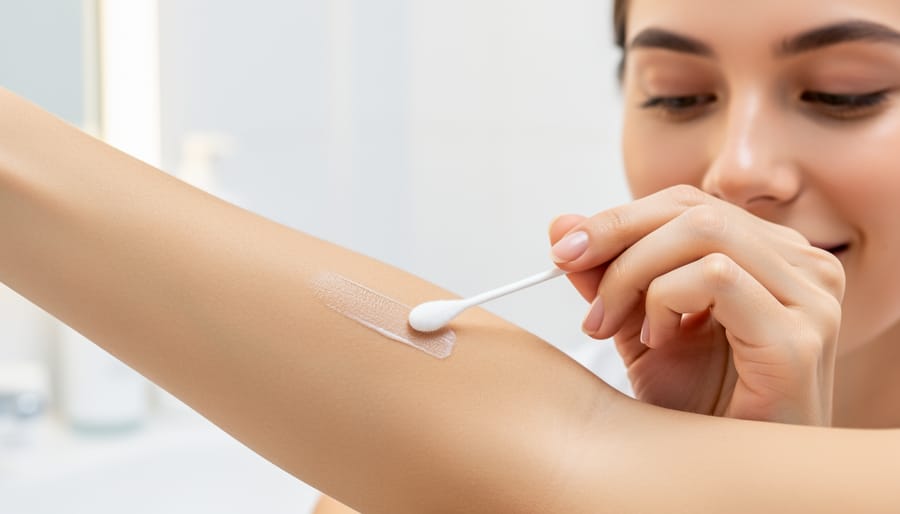
Before you dive into your new routine, let’s talk about protecting your skin while you pursue clearer results. A few simple precautions now can save you weeks of setbacks and frustration later.
Always patch test new products before applying them to your entire face. Apply a small amount behind your ear or on your inner forearm, wait 24-48 hours, and watch for redness, itching, or swelling. Patch testing identifies allergens before they cause widespread reactions on your face.
Understanding the difference between purging and irritation matters. When you start using active ingredients like salicylic acid or retinol, your skin might purge, bringing existing congestion to the surface faster. This typically happens in areas where you normally break out and resolves within four to six weeks. True irritation, however, shows up as burning, stinging, or breakouts in new areas. That’s your signal to stop and reassess.
Resist the urge to over-exfoliate, even when you’re eager for faster results. More isn’t better. Active ingredients make your skin sun-sensitive, so daily SPF becomes essential, not optional.
Consult a dermatologist if you experience severe burning, widespread rash, signs of infection, or if your acne doesn’t improve after two to three months of consistent effort. Your skin deserves professional attention when home care isn’t enough.
Your 4-Step Clear Skin Routine: The Process
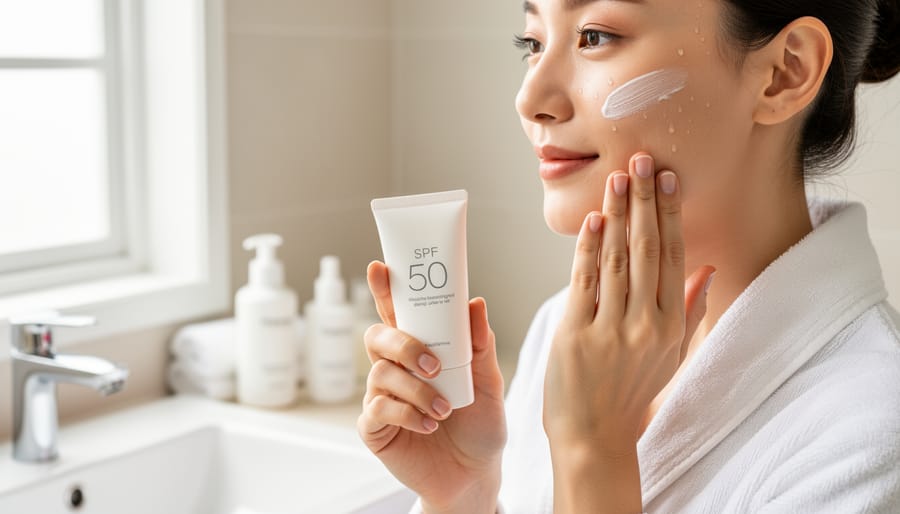
Step 1: Cleanse to Remove Buildup
Start by wetting your face with lukewarm water, not hot, which strips your skin’s natural oils and triggers excess oil production, and not cold, which won’t effectively loosen debris. Dispense a nickel-sized amount of your gentle cleanser into your palms, then apply it to your face using small circular motions with your fingertips. Work from the center outward, spending about 30 seconds covering your entire face and jawline. Rinse thoroughly, ensuring no residue remains along your hairline or jaw where buildup contributes to breakouts.
For evenings when you’ve worn makeup or sunscreen, double cleansing makes a difference. Start with an oil-based cleanser or micellar water to dissolve makeup and SPF, rinse, then follow with your regular gentle cleanser. This two-step approach became essential in my skincare routine once I realized leftover sunscreen was clogging my pores.
Pat your face dry with a clean towel using gentle pressing motions. Rubbing creates friction that irritates skin and spreads bacteria.
The biggest cleansing mistakes that sabotage clearer skin: washing more than twice daily (which damages your moisture barrier and causes rebound oil production), using scorching water (extremely drying), scrubbing aggressively (inflammation triggers breakouts), and choosing foaming cleansers that leave your skin feeling “squeaky clean” (that tight feeling signals over-stripping, not cleanliness). Your skin should feel soft and comfortable after cleansing, never tight or raw.
Step 2: Treat Problem Areas with Active Ingredients
After cleansing, your skin is prepped and ready for the most targeted step in your routine: treatment products. This is where you address specific concerns like breakouts, texture, or stubborn marks with ingredients that actually work.
Apply your treatment product immediately after cleansing while your skin is still slightly damp, this helps most actives absorb better. If you’re using a strong retinol or prescription treatment, wait until skin is completely dry to minimize irritation. Start with a pea-sized amount for your entire face or a rice-grain amount for spot treatments. Gently press or pat the product into problem areas rather than rubbing aggressively.
For breakout-prone skin, salicylic acid penetrates pores to clear congestion and prevent new blemishes. Niacinamide calms inflammation and helps fade post-acne marks without irritation, making it perfect for sensitive skin. Retinol speeds cell turnover to prevent clogged pores and smooth texture, but introduce it slowly, twice weekly at first, then gradually increase.
Never layer multiple strong actives when you’re starting out. Pick one treatment to focus on, use it consistently for at least six weeks, then reassess. If you’re using retinol or vitamin C, apply it in the evening since these ingredients can be light-sensitive. Morning treatments like niacinamide or azelaic acid work beautifully under sunscreen.
The key isn’t using everything at once, it’s choosing the right active for your skin’s biggest concern and giving it time to deliver results.
Step 3: Moisturize to Balance Your Skin
Even if your skin is oily or breaks out frequently, skipping moisturizer is one of the worst things you can do. When your skin feels stripped or dehydrated, it actually produces more oil to compensate, which can lead to more clogged pores and breakouts. A good moisturizer helps regulate your skin’s natural balance and supports the healing process after you’ve applied active ingredients.
The key is choosing the right formula. If you have oily or combination skin, look for lightweight, water-based moisturizers labeled “oil-free” or “non-comedogenic.” Gel moisturizers absorb quickly and won’t leave a greasy film. For normal to dry skin prone to breakouts, a light lotion works beautifully. Ingredients like hyaluronic acid, ceramides, and niacinamide help hydrate without heaviness, while squalane and lightweight plant oils can nourish without triggering acne.
Apply moisturizer to slightly damp skin if possible, as this helps lock in hydration. Warm a pea-sized amount between your fingertips, then gently press and smooth it over your face using upward motions. Don’t forget your neck. The upward application technique feels luxurious and prevents tugging at delicate skin.
Give your moisturizer a minute or two to fully absorb before moving to the next step. Your skin should feel comfortable, soft, and balanced, not tight or slick. That’s how you know you’ve found your match.
Step 4: Protect with SPF (Morning Only)
Sunscreen isn’t optional when you’re working toward clearer skin, it’s essential. Active ingredients like salicylic acid and retinol make your skin more vulnerable to sun damage, and UV exposure darkens post-acne marks, undoing all your progress. Think of SPF as the final protective shield that locks in your routine’s benefits.
Apply sunscreen as your last morning step, after your moisturizer has absorbed. Use about a nickel-sized amount for your face and gently press it in rather than rubbing aggressively. Don’t forget your neck, which shows sun damage just as quickly as your face. Wait a minute before applying makeup to let the SPF set properly.
Choose a broad-spectrum SPF 30 or higher labeled non-comedogenic or oil-free. Mineral sunscreens with zinc oxide work beautifully for sensitive or acne-prone skin because they sit on the surface rather than sinking into pores. Chemical sunscreens absorb quickly and feel lighter but can irritate reactive skin, so patch test first.
Reapply every two hours if you’re outdoors, or at midday if you’re mostly inside near windows. Keep a powder SPF at your desk or a stick formula in your bag for easy touch-ups over makeup.
Skipping sunscreen sabotages your clear skin goals. Those dark spots from old breakouts? They’ll fade in weeks with consistent SPF protection. Without it, they’ll linger for months or become permanent. Your future self will thank you for making this step non-negotiable.
How to Tell If Your Routine Is Working
Give your skin some grace. Real change takes time, and the first few weeks might feel like nothing is happening. Most people start noticing subtle improvements around the 4-week mark, with more significant clarity appearing between weeks 6 and 8. Your skin needs time to complete its natural renewal cycle and respond to the active ingredients you’re using.
Watch for these positive signs that your routine is working. You might notice fewer new breakouts forming, even if existing ones are still healing. Your skin texture should feel smoother when you cleanse, with less roughness or congestion. Post-acne marks and redness often begin fading, though this process takes longer than clearing active breakouts. Your skin might also feel more balanced, with less excess oil by midday if you typically have oily skin, or less tightness if you tend toward dryness.
Keep a simple mental note or quick phone photo when you start. We see our faces every day, which makes gradual progress hard to spot. Looking back after a month often reveals changes you missed in real time.
If you’re not seeing any improvement after 8 weeks of consistent use, or if your skin is getting significantly worse, that’s when to get help from a dermatologist. Sometimes underlying hormonal issues, sensitivities to specific ingredients, or skin conditions like rosacea need professional diagnosis.
Once you see results, stick with what works. Your skin thrives on consistency. You can make minor adjustments for seasonal changes, switching to a lighter moisturizer in summer, for example, but avoid the temptation to constantly switch products. Clear skin isn’t about finding the perfect product. It’s about finding a simple routine that works for you and honoring it daily.
Common Questions About Simple Skincare for Clearer Skin
How long before I see results?
Most people notice smoother texture and fewer new breakouts within 2-3 weeks, but significant improvement in existing marks and overall clarity typically takes 6-8 weeks of consistent use. Your skin needs time to complete its natural renewal cycle, so patience is your friend here.
Can I use the same routine morning and night?
Yes, with one key difference: skip the SPF at night and add it back in the morning. Your evening routine can also be a good time for stronger treatment products if you’re using actives that increase sun sensitivity.
What if my skin gets worse at first?
Some purging is normal when you start using active ingredients, as they bring clogged pores to the surface faster. This typically lasts 2-4 weeks and affects areas where you usually break out. If you’re getting irritation, redness, or breakouts in new areas, that’s likely a reaction, and you should stop the product.
Do I need a toner?
No, toner isn’t essential for clearer skin. A good cleanser and treatment product do the heavy lifting. If you enjoy the ritual or want to add hydration, choose an alcohol-free formula, but don’t feel pressured to add extra steps.
Can I wear makeup with this routine?
Absolutely. Just make sure your makeup and sunscreen are non-comedogenic, and be thorough with your evening cleanse to remove everything. Many people find their skin looks better without heavy coverage once their routine starts working.
Should I change products seasonally?
You might need to adjust moisturizer texture based on the weather, a lighter gel in summer, a richer cream in winter, but your core cleansing and treatment steps can stay consistent. Listen to your skin rather than following a calendar.
These questions come up constantly because starting a new routine feels uncertain. Remember that clearer skin is a journey, not a race. Some people explore additional skin treatment options down the road, but building this foundation first gives you a solid baseline to work from. Trust the process, give your products time to work, and resist the urge to add ten new things at once when you’re not seeing overnight miracles. Consistency beats complexity every single time.
Clearer skin really is this simple: cleanse, treat, moisturize, and protect. No ten-step routines, no cabinet full of miracle products, just four consistent steps that respect your skin and your time.
You can start tonight. Your skin won’t transform overnight, and that’s okay. This is your unique journey, not a race against someone else’s before-and-after photos. Some weeks will show progress, others might feel stagnant. Be patient with yourself. Your skin is healing, adapting, finding its balance.
Remember, caring for your skin is an act of self-care, not self-criticism. Every time you follow these steps, you’re choosing yourself. You’re saying your wellbeing matters.
So tonight, wash your face gently. Apply your treatment. Moisturize with intention. And know that you’re building something meaningful, not just clearer skin, but a deeper relationship with taking care of yourself.